How to make Flower
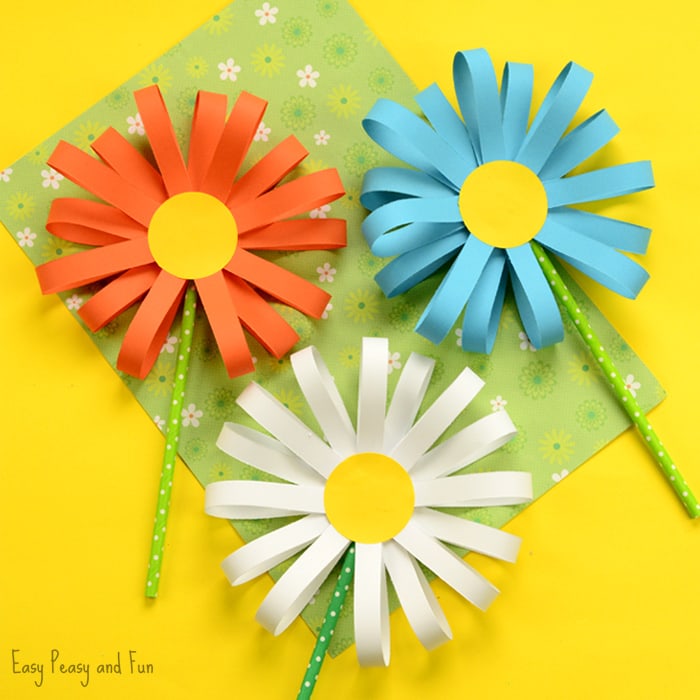
This adorable paper flower craft is perfect for welcoming spring in your home. These will make a wonderful decoration, you can make a few and have a lovely bouquet.
As this is a quick spring craft to make, it is also perfect for classroom. We will be sharing some tips on how to make this classroom friendly for different age groups.
*this post contains affiliate links*
We LOVE spring. Hands down favourite season. Not to cold, not to warm – just perfect. And all that sunshine and flowers. What’s not to love really! We also think flowers are at their prettiest when they are in the nature so today we are showing you a step by step tutorial on how to make an adorable paper flower craft.
This one can be great for all ages, younger kids (preschool and kindergarten) will get a wonderful fine motor practice out of these while older kids will just enjoy the project and have fun.
You can also adapt this to make it a “grown – up” craft – just use sheet music paper, or newspaper for a more rustic look. Ready? Let’s start.
Paper Flower Craft
What you need
- circle paper punch – we recommend extra large if this craft will be done by a younger kid
- yellow paper
- paper in a variety of colors (we used regular print paper)
- paper cutter or scissors
- stick glue
- green paper drinking straws
- clear tape (or patterned for some fun)
You Can Watch the Video Tutorial
This is a modal window.
No compatible source was found for this media.
Or Follow These Step by Step Instructions
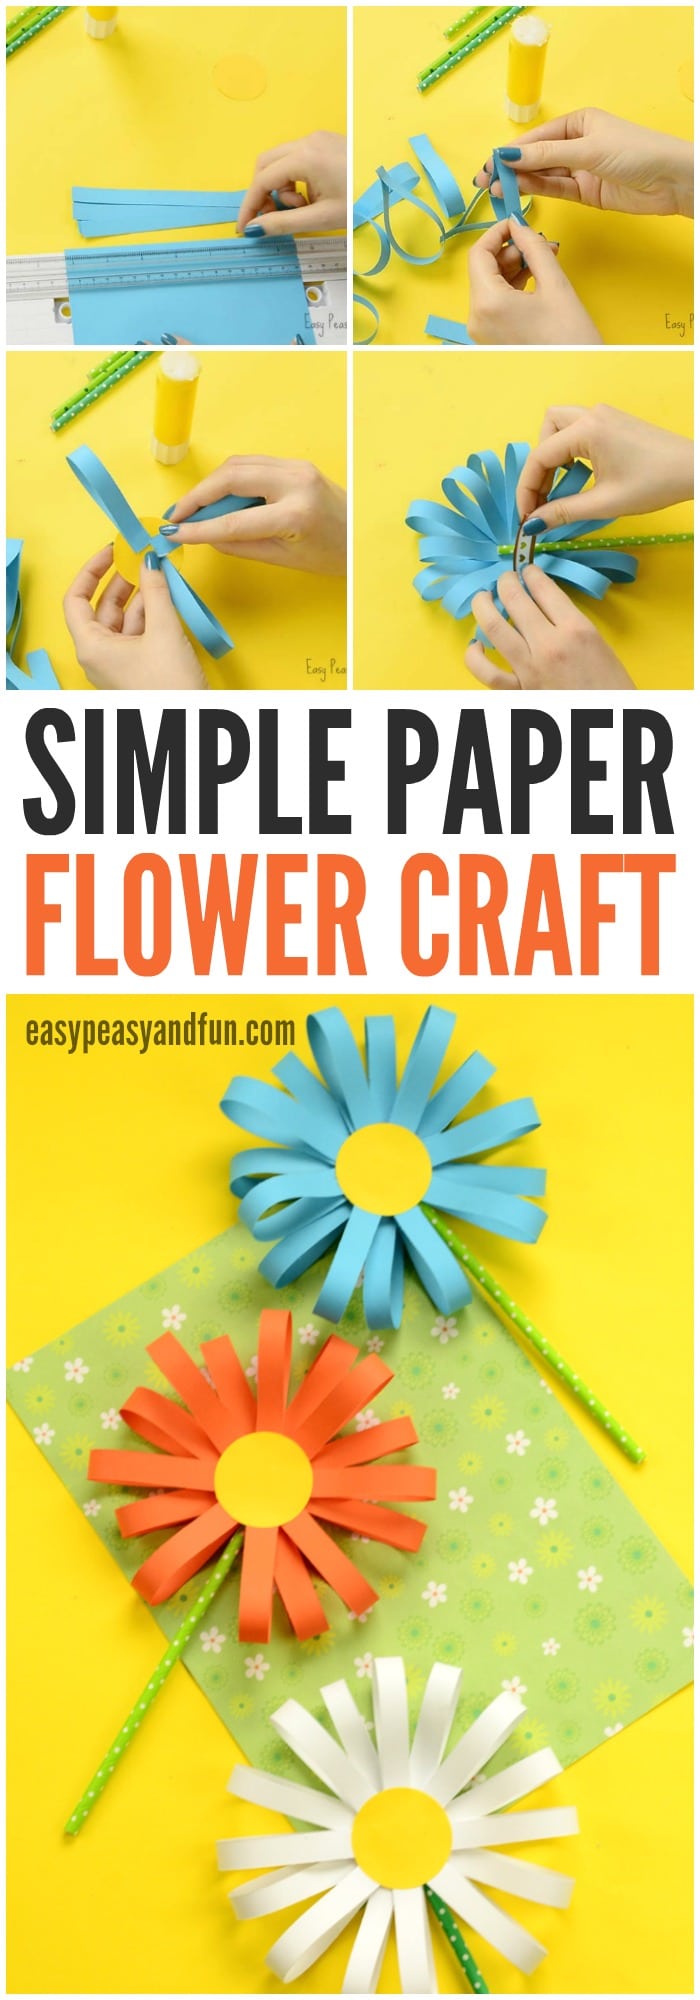
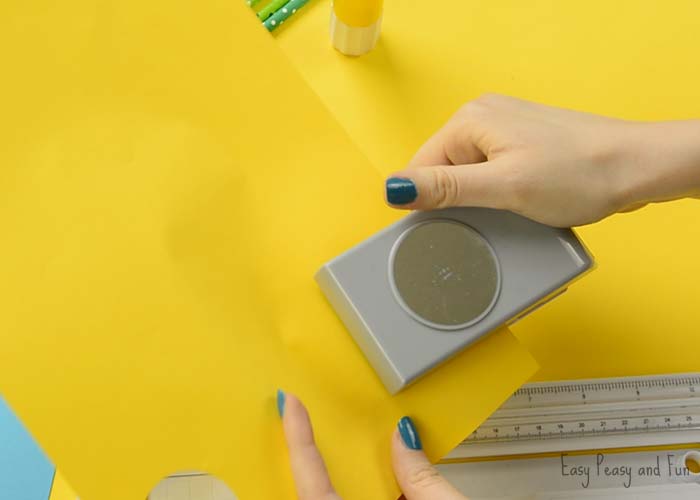
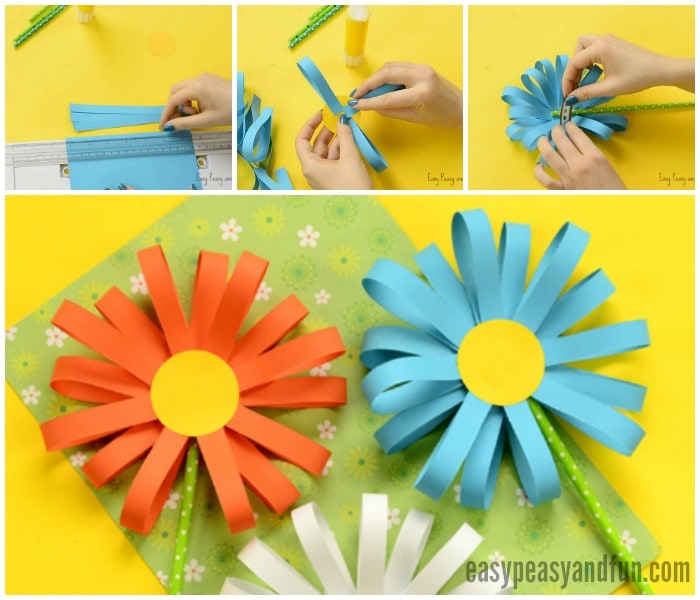
First punch a few circles out of yellow paper. You will need one circle for 1 flower. We recommend you use larger punch if you are working with small children as it will be easier for them to handle.
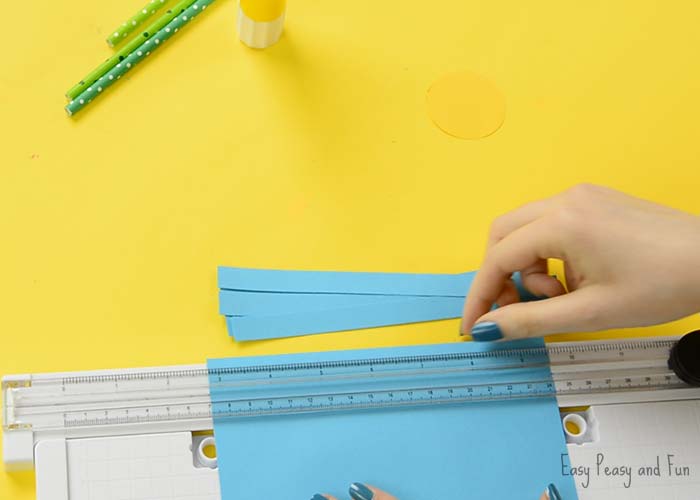
Cut strips of paper. There is some trial and error with the next step. Depending on your circle size, different lengths (and widths) of paper strips will work. We recommend you first make one strip of paper and make a loop (as seen in the next step) and see if it works with your circle size. Once you are happy with the size of the loop in relation to your yellow circle, start cutting strips of paper in that size.
We recommend you do the cutting if you are working with younger kids. If you will be making this a classroom project and want the kids to make the cutting by their own, we recommend you use the largest circle punch, as then cutting strips across the width of a letter sized paper works out nicely.
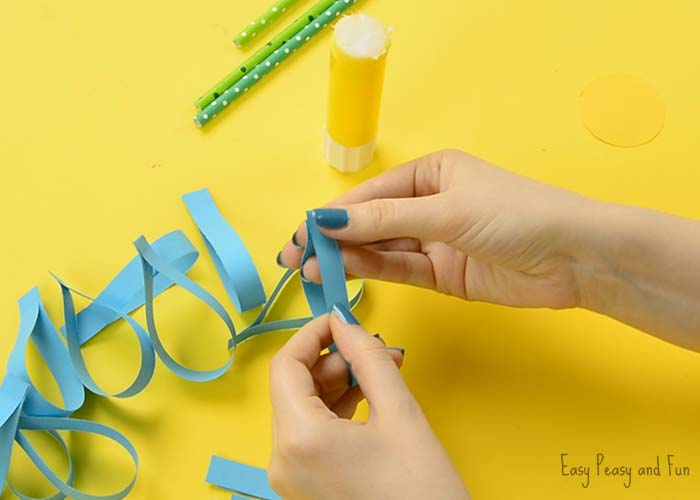
Glue the ends of paper strips together, making a paper loop. You will need quite a few (the number depends on the size of the flower you are making).
Glue the loops on one side of the paper circle. We started by sticking 4 at a 90° angle, then another 4 in between and another 8 in between those.
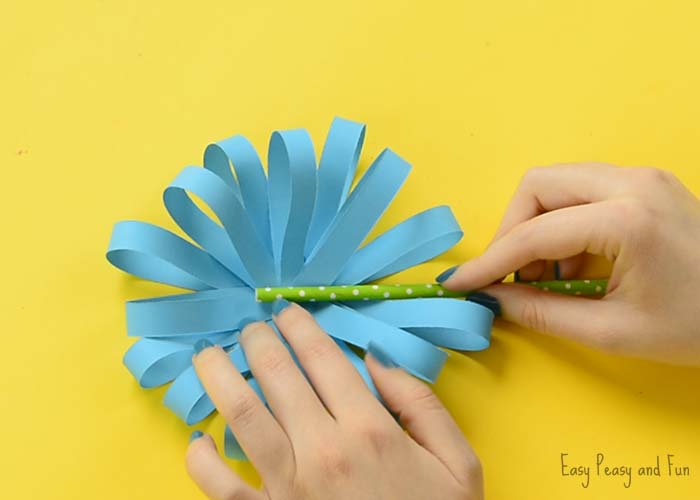
Once you are happy with how full your paper flower craft is looking, apply some glue onto the green paper straw and press it in the middle of the flower.
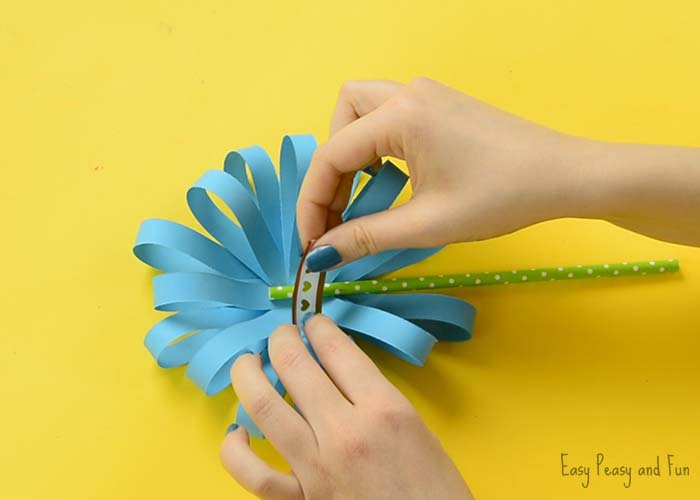
Secure with clear tape.
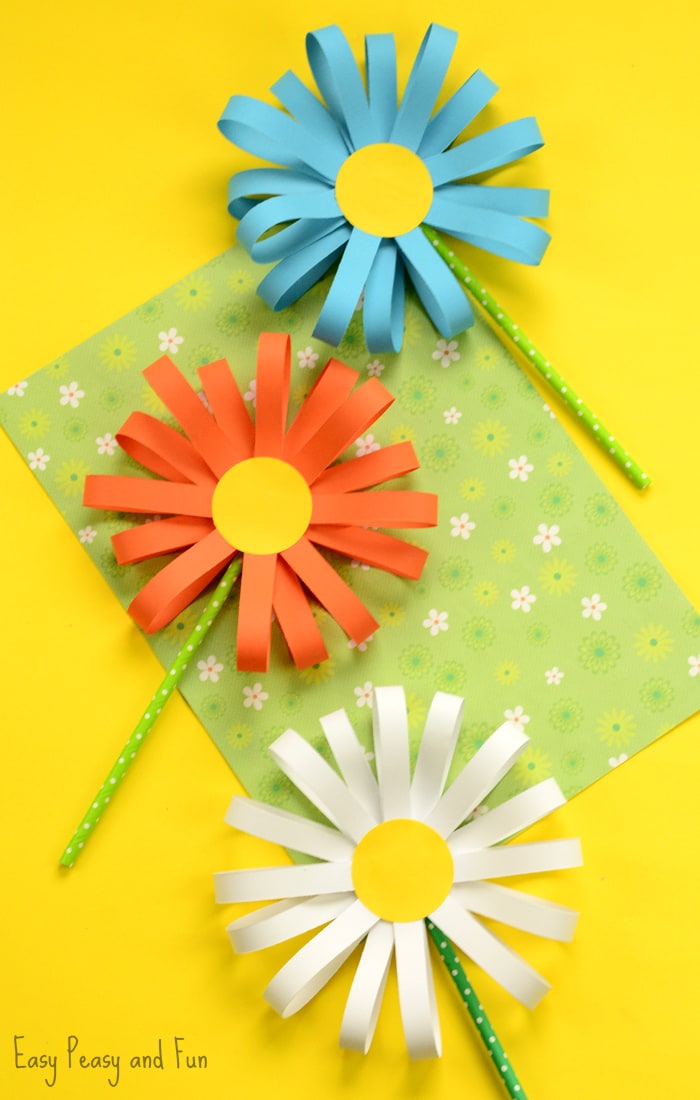
Your paper flower craft is complete.








No comments:
Post a Comment