
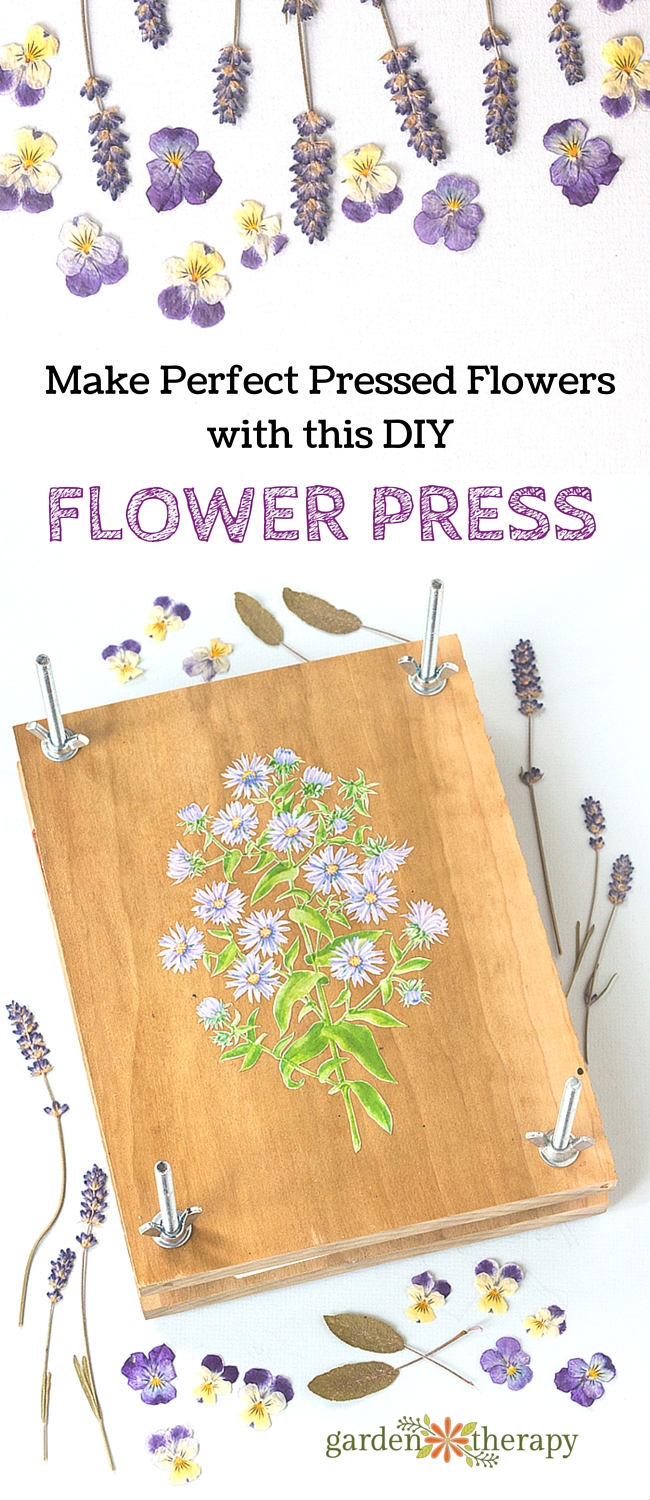
Woodworking for Gardeners: Make a Handmade Flower Press

The best way to preserve the beauty of the garden is with a flower press. With just a few materials and tools, you can make your own that looks as beautiful as it is functional. You can certainly preserve flowers and leaves in a book, a method that works well and is explained in this article. For those of you who want to take your crafting to a whole new level, a flower press will give you the most pristine and perfect dried flowers to create your artwork.
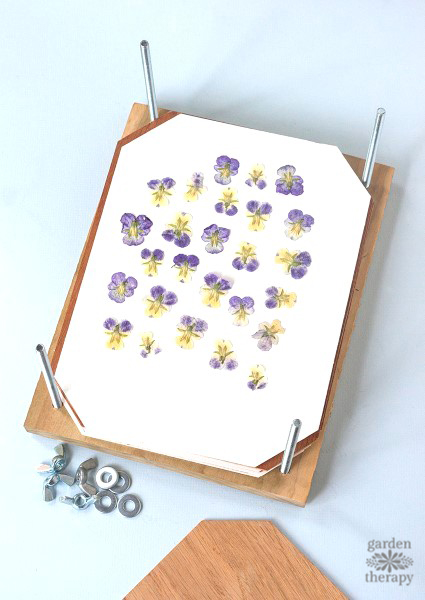
Last summer, I grew violas for the first time. They are such pretty flowers, I decided on a whim to press some between a few heavy books. Those pressings turned into a favorite summer activity and I soon had quite the collection of pressed flowers and leaves from my garden. This year, as I plan my garden planting, I’ve also decided to prep for more pressings by making my own handmade flower press.
Luckily, my grandfather has a woodworking shop so I stopped by one afternoon and we made this flower press together.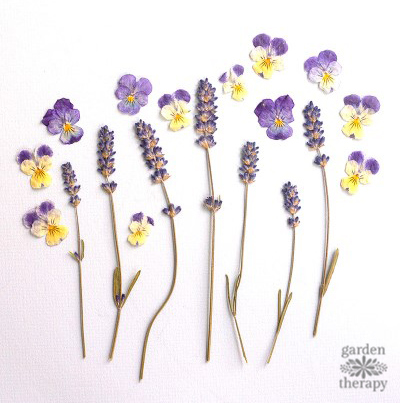
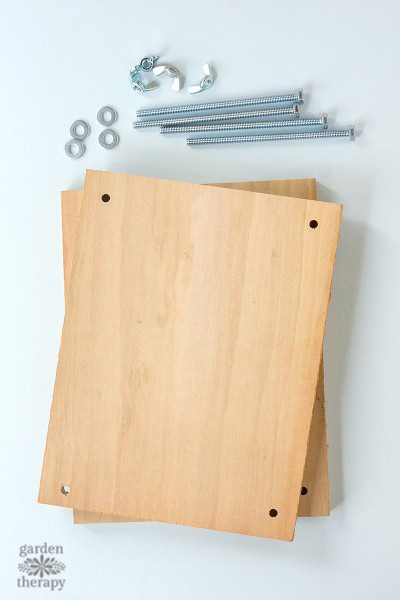
Materials:
- 2 pieces of wood of equal size
- 4 bolts
- 4 washers
- 4 wing nuts
- Cardboard (or thin wood)
- Watercolor paper (or white paper)
Additional Tools:
- Saw (or have your wood cut to size at your local hardware store)
- Drill
- Sandpaper
Make it!
First, cut your wood to size (you can make your flower press any size you want!). I made mine approx. 8″x 10″. Then, with the two pieces of wood stacked together, drill a hole through each corner (all the way through both pieces of wood). Use sandpaper to smooth off any rough edges.
Note: Make sure to choose a drill bit that is the same size as your bolt. I recommend drilling a test hole (using a scrap piece of wood) and making sure the bolt slides through the hole easily.

Next, cut your cardboard to size. My grandfather happened to have a piece of very thin wood on hand, so we decided to use that instead. Cut your cardboard/wood slightly smaller than your 2 boards. Then cut off each corner so that it will fit inside the bolts.
Use a piece of the cut cardboard/wood as a guide for cutting the watercolor paper (or white paper) to size.
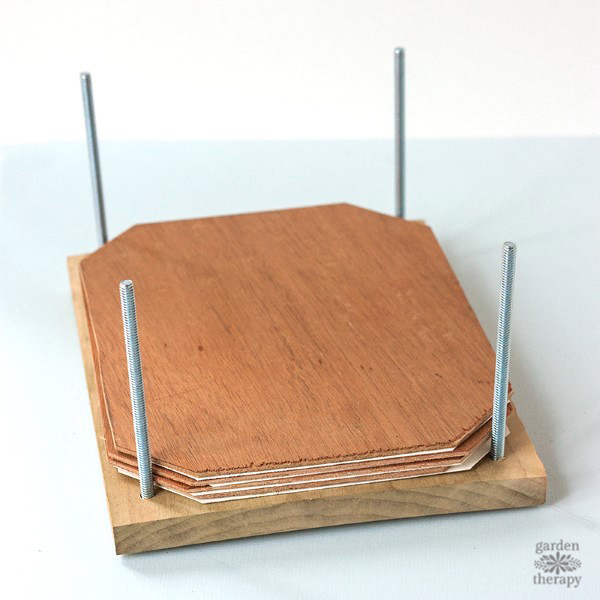
To assemble the press, insert a bolt into each corner of the bottom piece of the press. Layer alternate pieces of cardboard, paper, and flowers or leaves inside the press. The number of layers you use will depend on how many flowers you are pressing.
Note: I don’t recommend using paper towels (instead of white paper or watercolor paper) as the texture of the paper towel will be imprinted into your flowers while pressing.
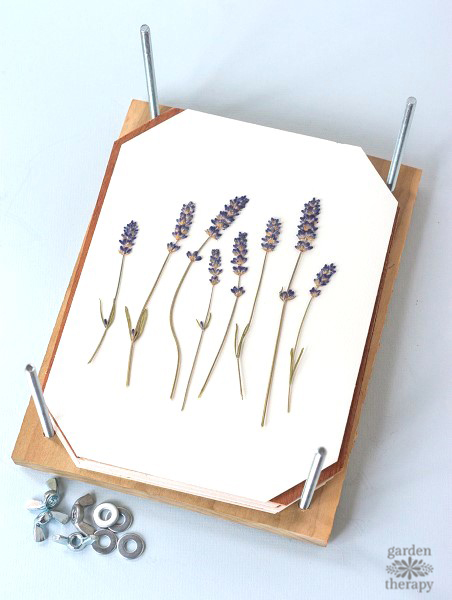
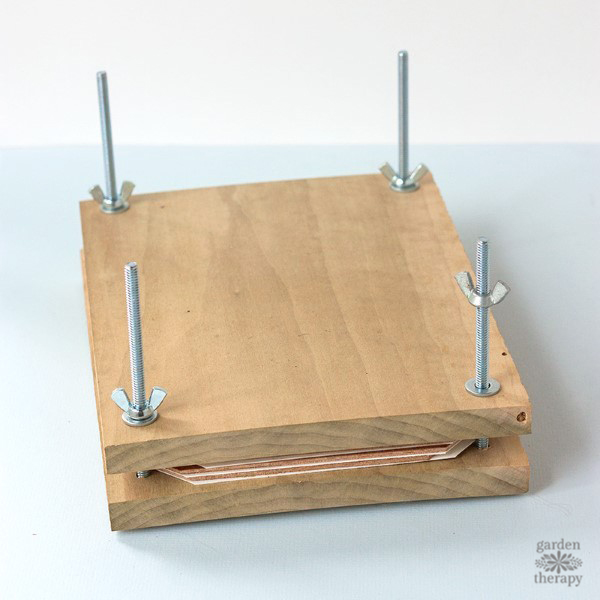
Place the top piece of wood onto the press by threading the bolts through the holes. Add a washer to each bolt, then top with a wing nut, screwing each one down tight, creating even pressure.
Let Your Flowers Dry In The Press For One Month!
This part requires some patience. Allow your flowers to press, undisturbed, for a full 30 days. If you can’t stand it any longer and want to take a peek sooner, just be extremely careful because checking them too early can result it tearing or wrinkling your flowers!
Flower Pressing Tips:
- Harvest flowers for pressing on dry days. The best time to collect flowers is mid morning after the morning dew has dried.
- Get your picked flowers into the press as soon as possible, before they start to wilt, and keep them out of direct sunlight.
- Sort your flowers by type and then place them face down into the press. Grouping like flowers together is best because they will dry at the same rate.
- Make sure the flowers do not touch each other in the press. Otherwise as they dry they will become stuck together forever.
Decorate Your Press:
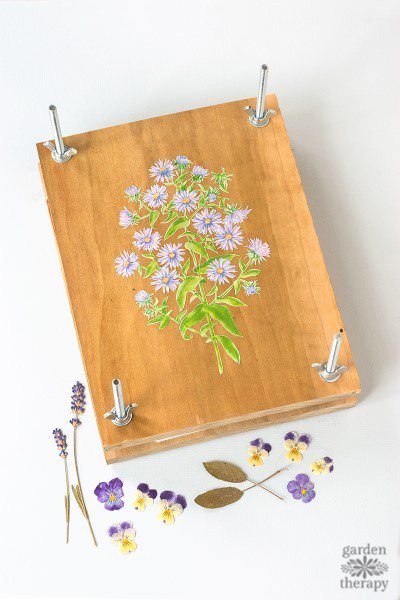
After my flower press was assembled, I decided to decorate the top with a botanical illustration I found in an old book. I used an x-acto knife to carefully cut out the flowers. Once cut out, I sprayed the back with adhesive and placed it onto the press. Next, I coated it with a few layers of modpodge and gave it a final spray of clear acrylic sealer to give it some extra protection.
Now that you have your press, read more tips on Preserving the Ornamental Garden: How to Dry Flowers
No comments:
Post a Comment