Fish Paper Craft for Kids
Materials for Fish Craft
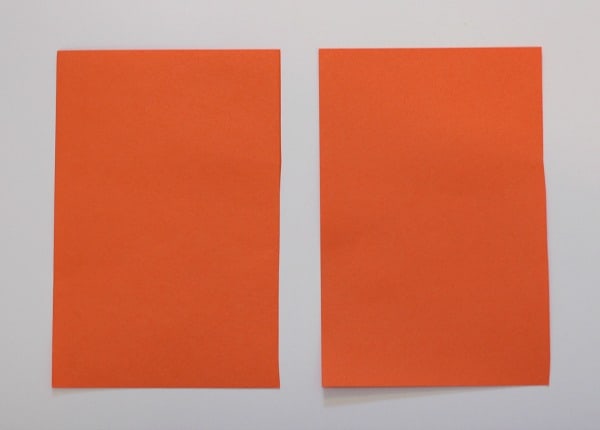
- Construction paper in whatever colors you’d like your fish to be
- Scissors
- Stapler
- Googly eyes
- Glue or glue dots
- Single hole punch and string for hanging
Directions for Fish Craft
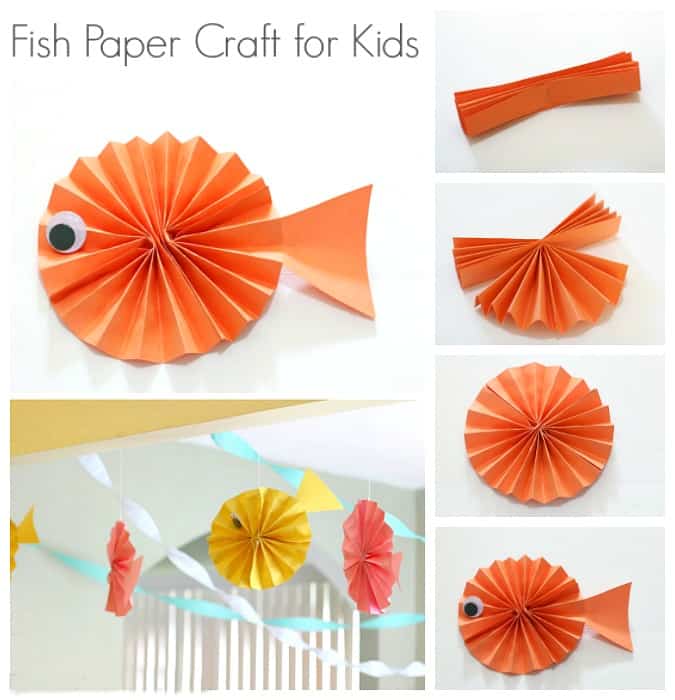
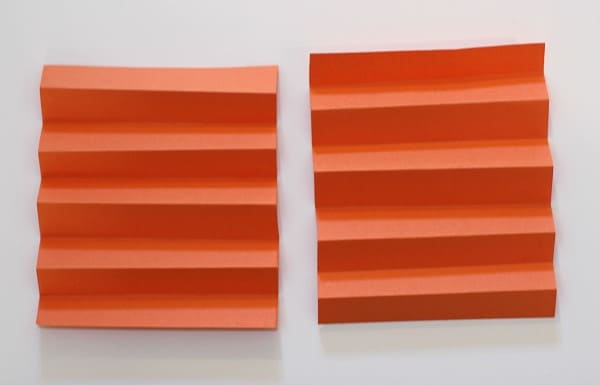
2. Accordion fold each sheet of paper.
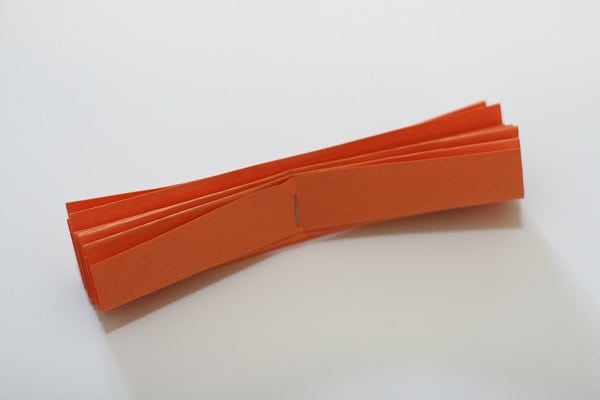
3. Line up the folded papers like this.
4. Press them together and staple them right in the middle.
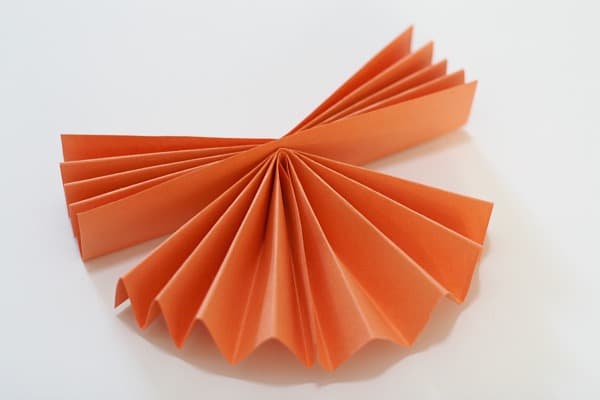
5. Pull down the bottom of each side so it fans out and glue the sides together where they meet at the bottom. (We used glue dots so we wouldn’t have to wait for the glue to dry. If you use liquid glue, you can paperclip the sides together after applying the glue so it will stay in place as it dries, but glue dots really make this project go much more smoothly!)
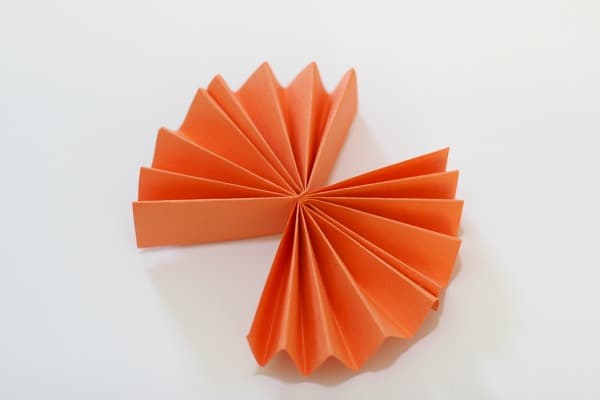
6. Do the same with the top of your fish.
7. Now you almost have a circle except there are two spaces are either side. Glue them both together to complete the circle.
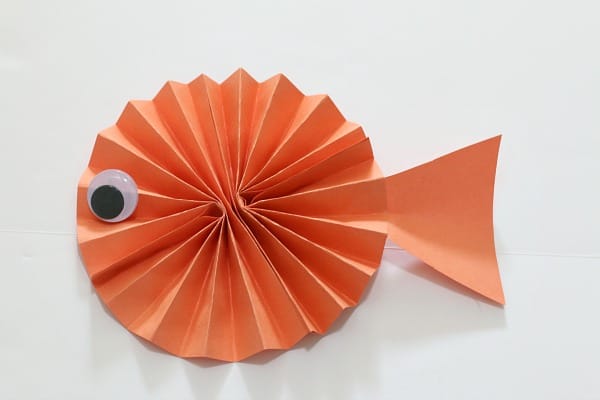
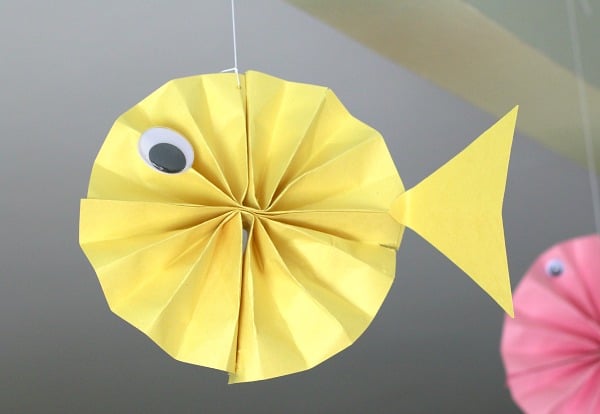
8. Cut out a triangle and glue it on the circle for a tail, and add a googly eye to each side of your fish.
Tips
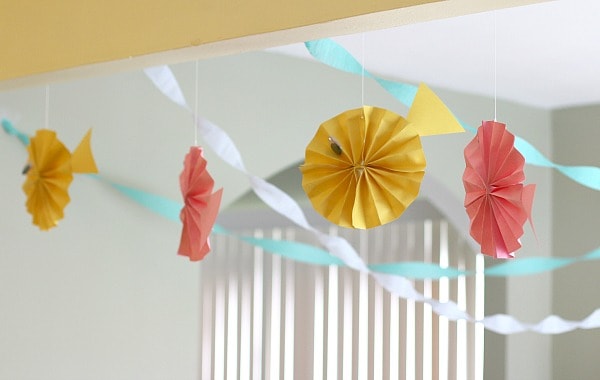
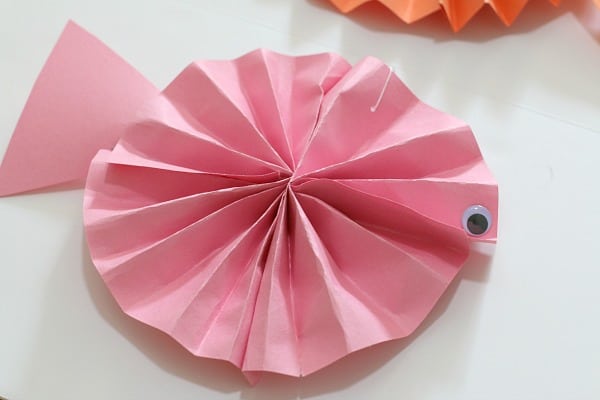
This project is a bit difficult for younger children to do on their own. You’ll definitely want to be there to help along the way! Here’s one of the fish Lucy did mostly on her own. She needed help with stapling the folded pieces together and with figuring out where to place the glue dots. She was so proud of her completed fish!
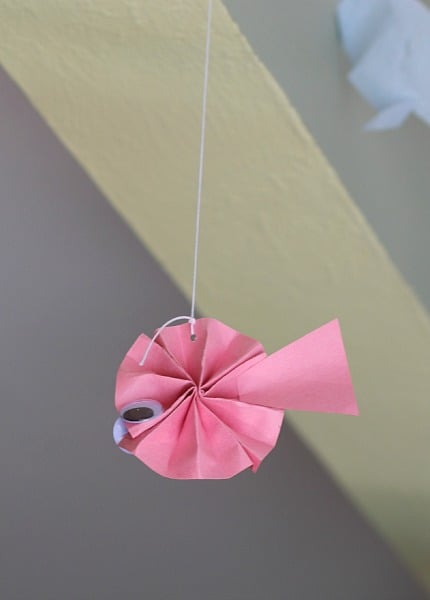
She wanted to make a baby fish too! You can change the size of your fish by starting with smaller or larger pieces of paper. Here’s Lucy’s baby fish!
We have even more ocean-themed crafts and activities on Buggy and Buddy!



No comments:
Post a Comment